Installing an off-grid solar system follows a fairly fixed sequence: calculate actual load, size each component to that load, then wire and install in the correct order. Skipping the load calculation and sizing components by guess or by budget alone is the most common cause of systems that underperform.
Step 1: Calculate Actual Load
List every device and appliance intended to run on the system, its wattage, and estimated daily hours of use, then sum to a total daily watt-hour figure. This number — not a generic “off-grid system” package size — is what every other component should be sized against.
Step 2: Size the Battery Bank
Battery capacity should cover at least 2-3 days of typical use without sun, accounting for the fact that batteries shouldn’t be regularly discharged below roughly 50% (for lead-acid) or 80-90% (for lithium) to preserve lifespan. A system with daily load of 3,000 watt-hours and a 3-day autonomy target needs roughly 9,000 usable watt-hours of storage, adjusted upward for the depth-of-discharge limit of the battery chemistry chosen. See the full battery storage guide for chemistry tradeoffs, charge-controller compatibility, and real cost-per-cycle math between lead-acid and lithium.
Step 3: Size the Solar Array
Panel capacity needs to replace the daily watt-hour usage within the region’s average daily sun hours (available from NREL’s solar resource data), with additional capacity built in for winter’s shorter days and cloud-cover losses (commonly 10-25% of rated output). Undersizing for winter conditions specifically, rather than annual average, is a common design mistake that leaves a system short exactly when daylight is scarcest.
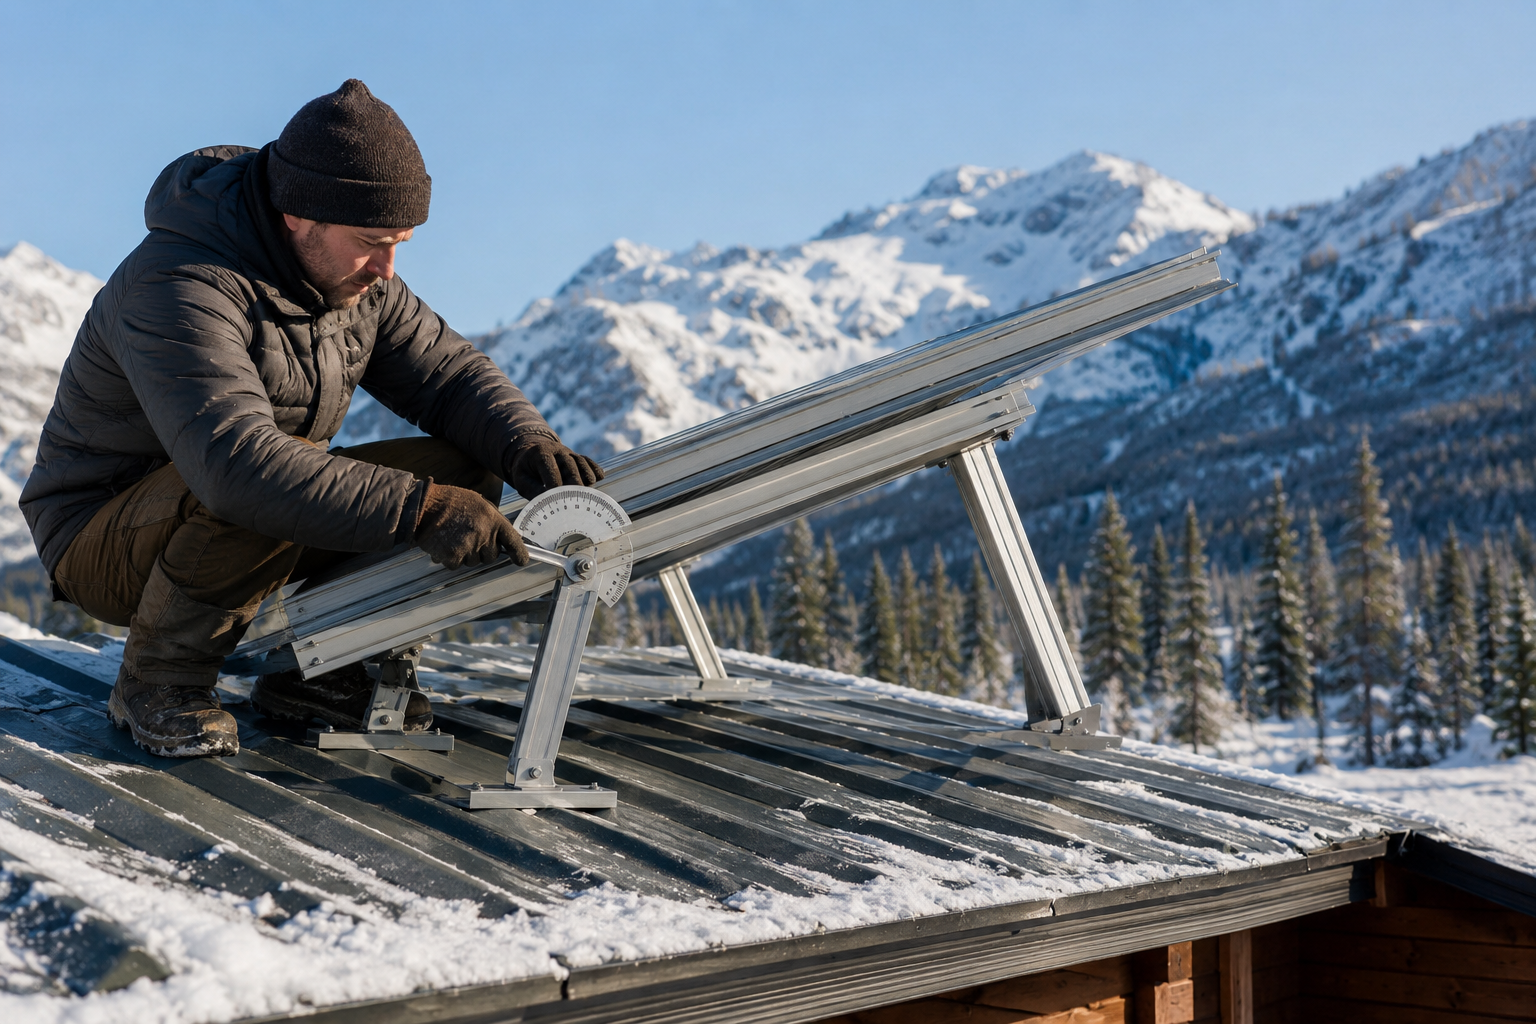
Tilt Angle Is a Cheaper Fix Than Adding Panels
Before buying extra panel capacity to cover the winter shortfall mentioned above, mounting angle is worth getting right first — it costs nothing beyond the racking hardware already needed for the install. Per EIA, installers typically set fixed-tilt angle based on latitude, and it directly shapes how seasonal the output curve is; tracking systems (which follow the sun through the day) measurably reduce that seasonality but remain uncommon on residential-scale installs specifically because of the added cost and moving parts — EIA’s 2014 California data found only 30% of systems over 10kW used single-axis tracking, with 66% on simpler fixed mounts.
For a fixed off-grid array, that leaves one real lever: tilting steeper than the “optimal annual average” angle a solar calculator defaults to. A steeper winter-favoring tilt sacrifices some summer output (when there’s surplus anyway) in exchange for meaningfully more winter production — exactly the tradeoff worth making on a system that has to cover its worst month, not its best one. This is a design decision made once at install, at zero ongoing cost, which makes it worth getting right before compensating with additional panels.
Step 4: Select a Charge Controller
An MPPT (maximum power point tracking) controller extracts meaningfully more usable power from a given panel array than an older PWM controller, particularly in cooler temperatures or partial shade — commonly cited as a 10-30% efficiency gain, which often justifies the higher upfront cost of MPPT over the system’s lifetime.
Step 5: Select an Inverter
The inverter needs continuous wattage capacity above the highest simultaneous AC load, plus surge capacity for appliances with high startup draw (refrigerator compressors and power tools can draw several times their running wattage momentarily at startup). Undersizing inverter surge capacity is a common cause of nuisance shutdowns when multiple appliances start simultaneously.
Step 6: Wiring and Safety
Wire gauge needs to match the current it carries over the given distance to avoid excessive voltage drop and heat buildup; appropriately rated fuses or breakers at each major connection point protect against short-circuit and overcurrent conditions. This is the stage of the install where errors carry real fire and safety risk, making it the point most worth professional review even in an otherwise DIY build (the same review-before-trusting-it standard that applies to structural and electrical decisions elsewhere in a build).
Conclusion
A correctly sized off-grid solar system starts with an honest load calculation and sizes every downstream component — battery, panels, controller, inverter, wiring — against that number and against worst-case (winter, cloudy-stretch) conditions rather than best-case ones.